Androidアプリ「HelloWorld」を作って、好き勝手に弄ってみた
お約束
この記事は「いのべこ夏休みアドベントカレンダー2020」の16日目(8月16日分)の記事です。
本記事の掲載内容は私自身の見解であり、所属する組織を代表するものではありません(お約束)。
きっかけ
Androidアプリ案件にかかわったので、せっかくならAndroid関係で何か書きたかった。
本記事でやること
- プロジェクト新規作成
- エミュレータの起動
- ボタンを追加し、ボタン押下したら出力する文字列を変更する
準備
AndroidStudioのインストール
公式サイトに乗ってるから、その通りに。
AndroidStudioを日本語化
以下のQiita記事を見てください。
Android Studio日本語化
プロジェクト新規作成
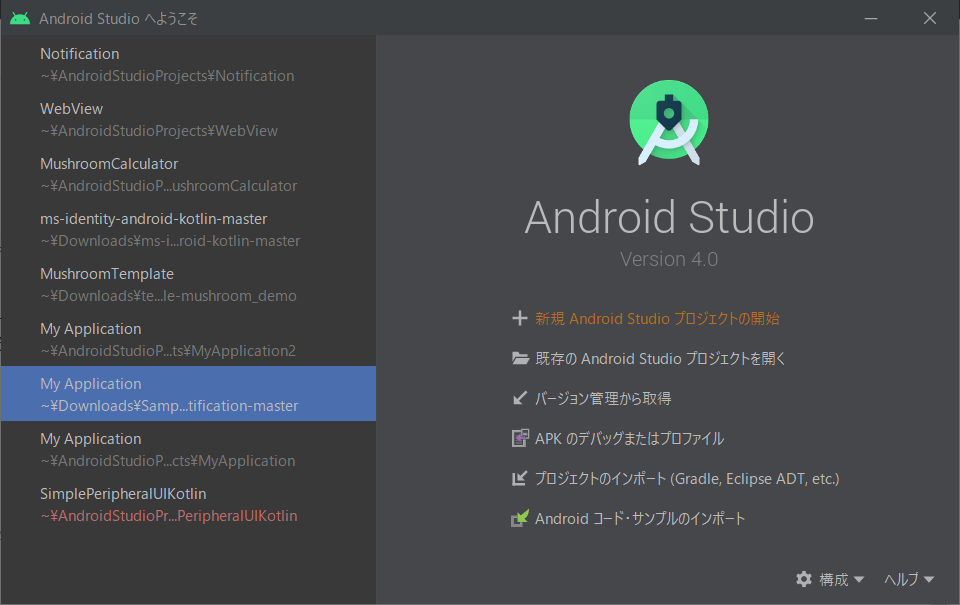
・「新規AndroidStudioプロジェクトの開始」を押下する
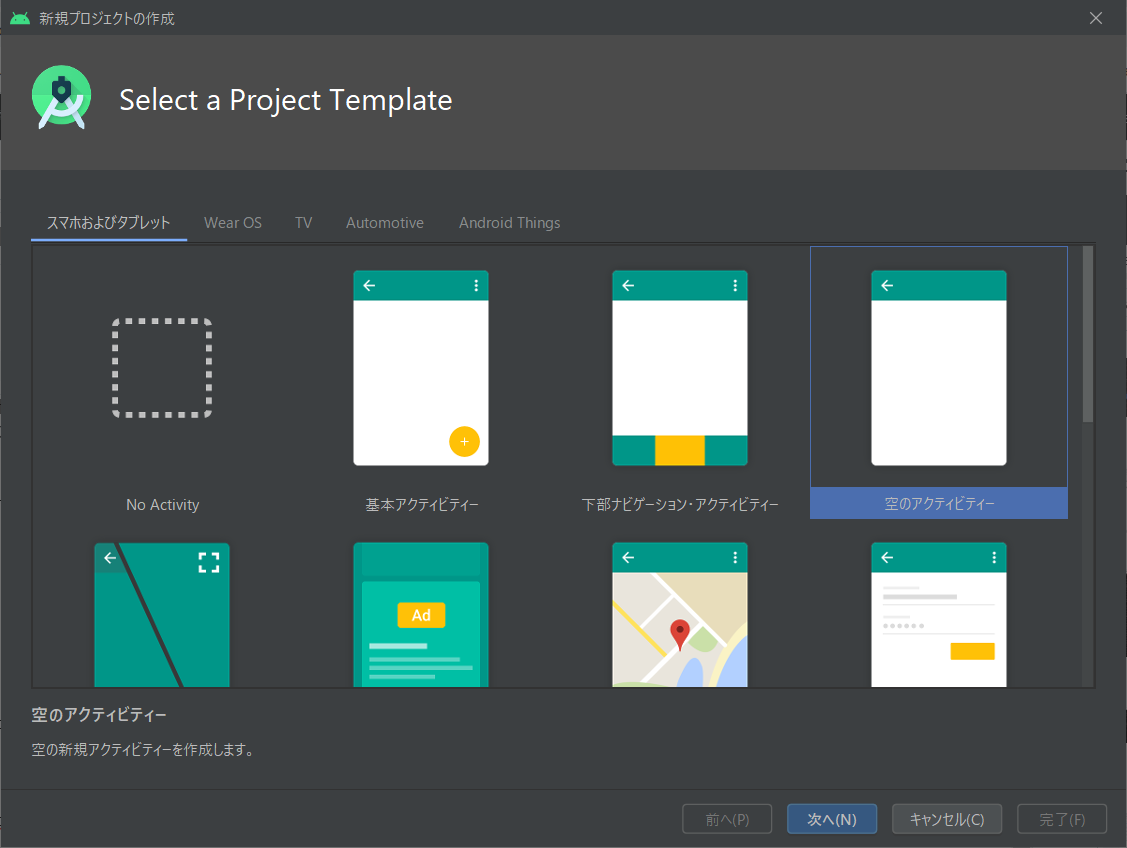
・「空のアクティビティ」を選択して「次へ」を押下する
・プロジェクトの構成を入力する
今回のアプリ名はHelloWorld。
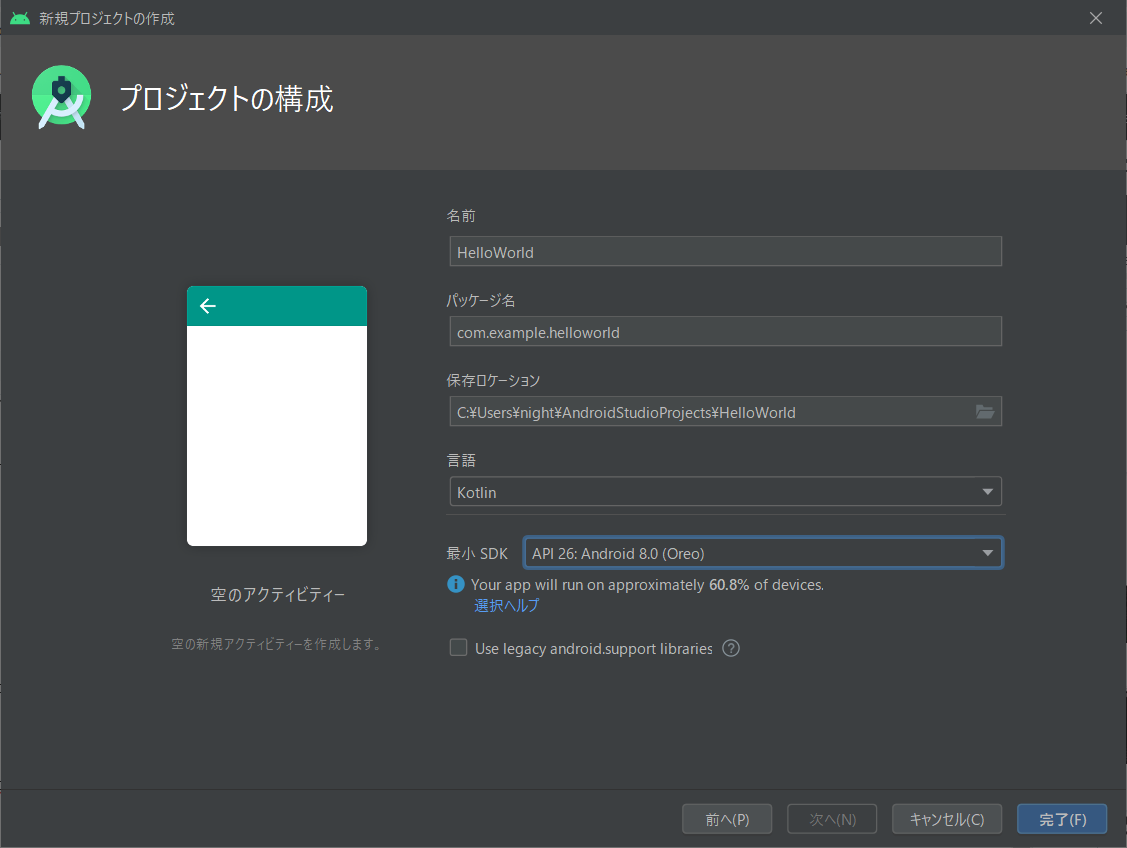
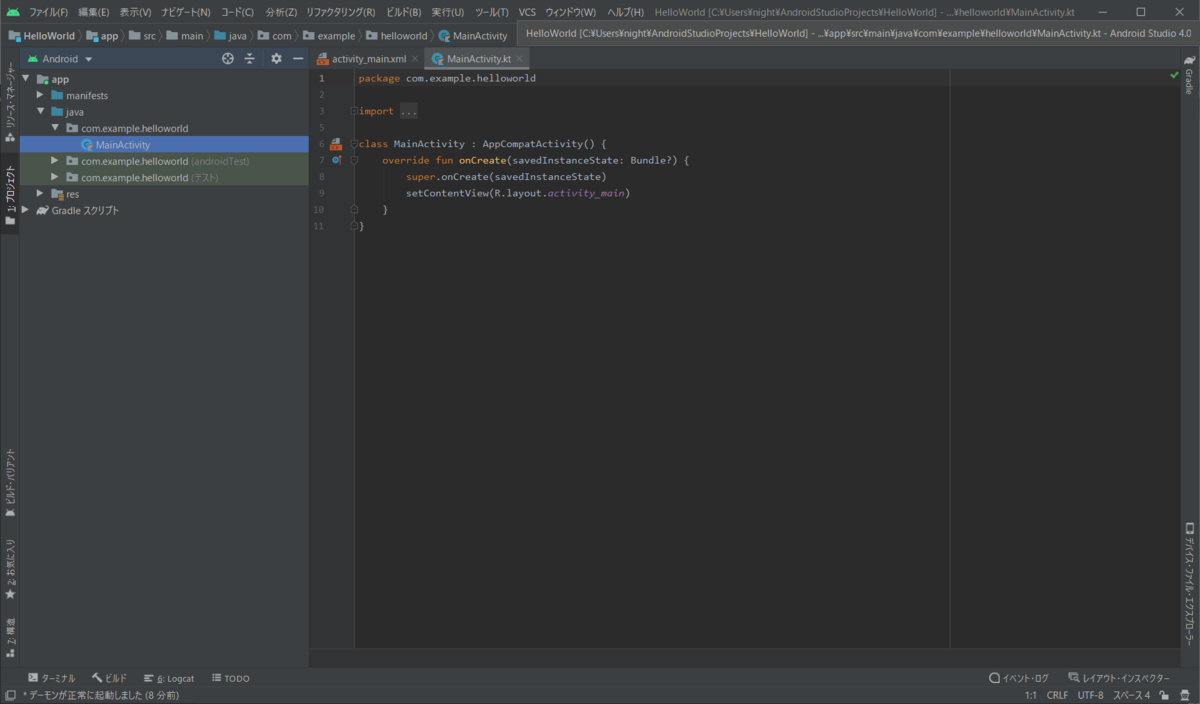
ポイントとなる箇所を確認する。
AndroidManifest.xml
<?xml version="1.0" encoding="utf-8"?>
<manifest xmlns:android="http://schemas.android.com/apk/res/android"
    package="com.example.helloworld">

    <application
        android:allowBackup="true"
        android:icon="@mipmap/ic_launcher"
        android:label="@string/app_name"
        android:roundIcon="@mipmap/ic_launcher_round"
        android:supportsRtl="true"
        android:theme="@style/AppTheme">
        <activity android:name=".MainActivity">
            <intent-filter>
                <action android:name="android.intent.action.MAIN" />

                <category android:name="android.intent.category.LAUNCHER" />
            </intent-filter>
        </activity>
    </application>
</manifest>
res/layout/activity_main.xml
<?xml version="1.0" encoding="utf-8"?>
<androidx.constraintlayout.widget.ConstraintLayout xmlns:android="http://schemas.android.com/apk/res/android"
    xmlns:app="http://schemas.android.com/apk/res-auto"
    xmlns:tools="http://schemas.android.com/tools"
    android:layout_width="match_parent"
    android:layout_height="match_parent"
    tools:context=".MainActivity">

    <TextView
        android:layout_width="wrap_content"
        android:layout_height="wrap_content"
        android:text="Hello World!"
        app:layout_constraintBottom_toBottomOf="parent"
        app:layout_constraintLeft_toLeftOf="parent"
        app:layout_constraintRight_toRightOf="parent"
        app:layout_constraintTop_toTopOf="parent" />

    <!-- ★以下にボタンを追加する -->

</androidx.constraintlayout.widget.ConstraintLayout>
res/values/string.xml
<resources>
    <string name="app_name">HelloWorld</string>
</resources>
java/.../MainActivity.java
package com.example.helloworld

import androidx.appcompat.app.AppCompatActivity
import android.os.Bundle

class MainActivity : AppCompatActivity() {
    override fun onCreate(savedInstanceState: Bundle?) {
        super.onCreate(savedInstanceState)
        setContentView(R.layout.activity_main)
    // ここら辺にボタン操作処理を記載する
    }
}
エミュレータを起動する
エミュレータを作る

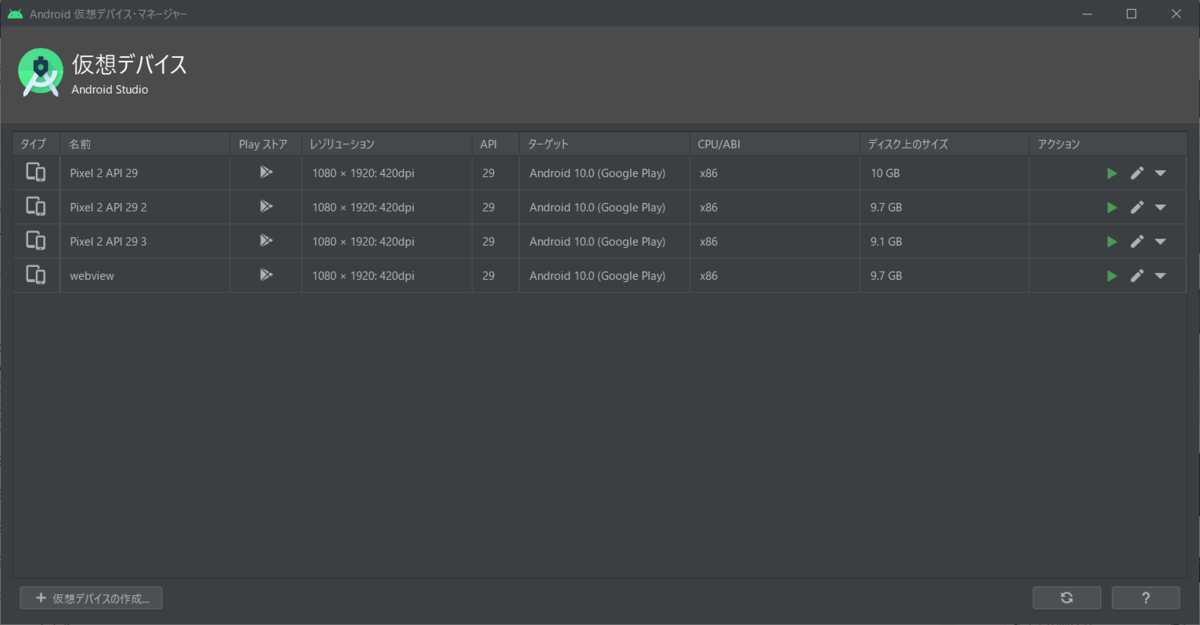
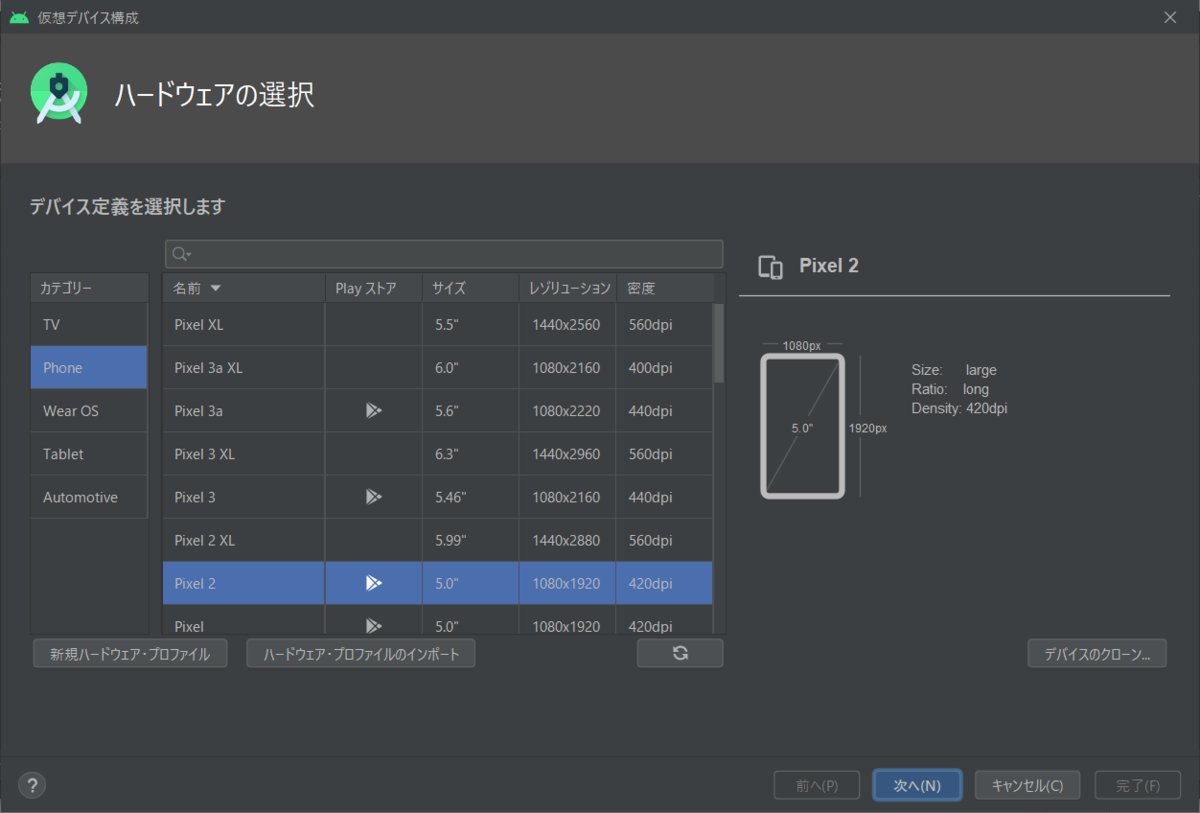

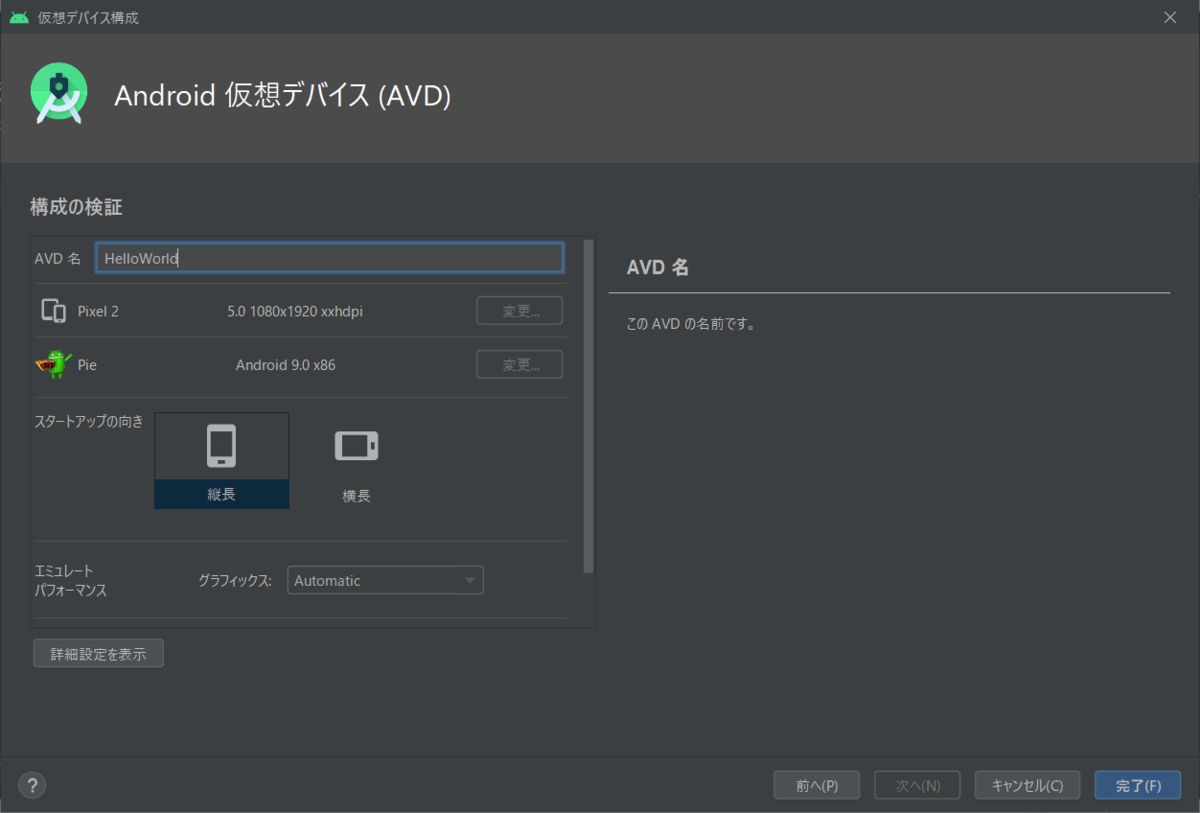
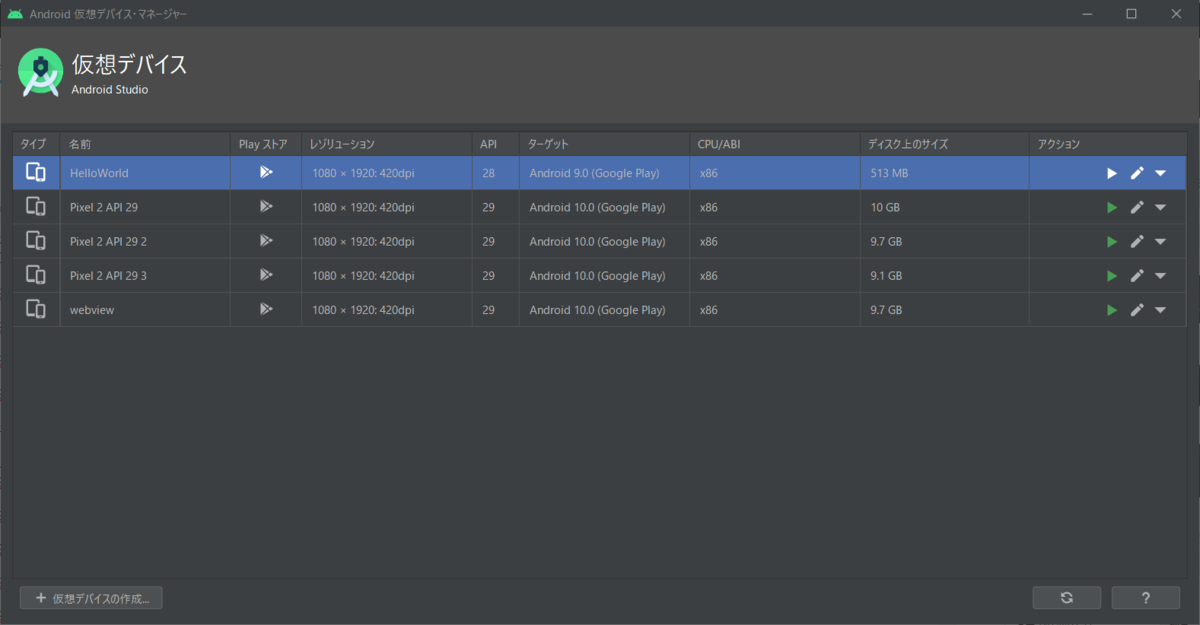
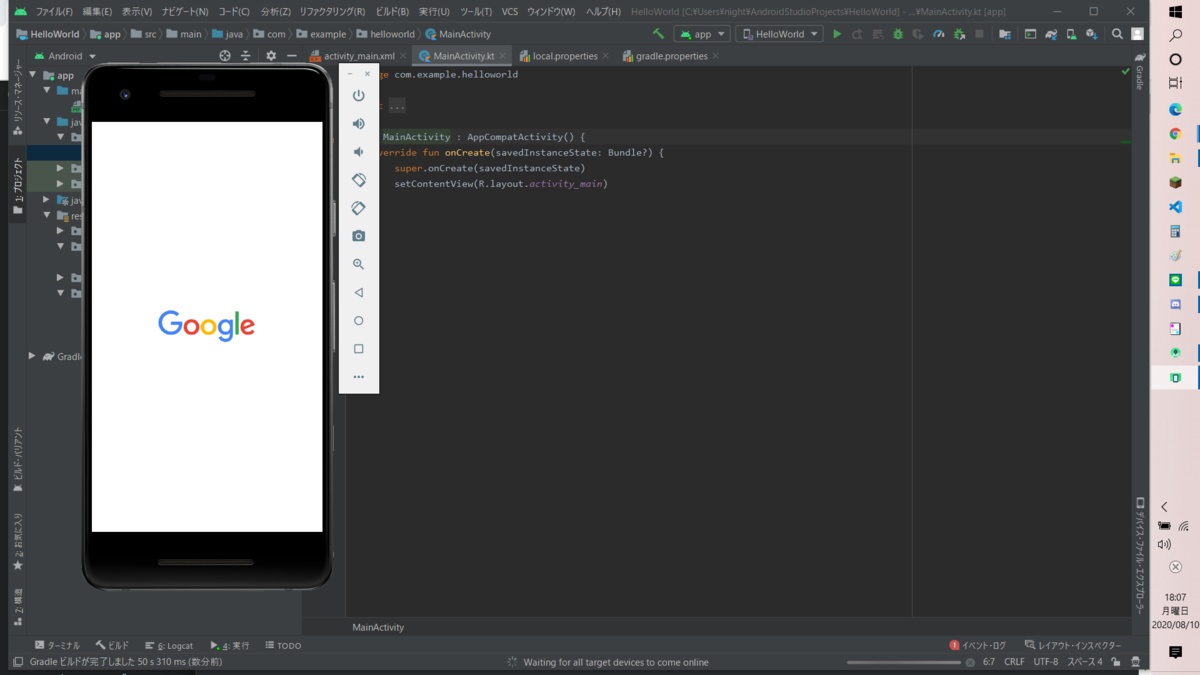
さっきつくったエミュレータを選択して、起動する
「HelloWorld」を選んで、ツールバーの「▶」を押下すればエミュレーターが起動する。
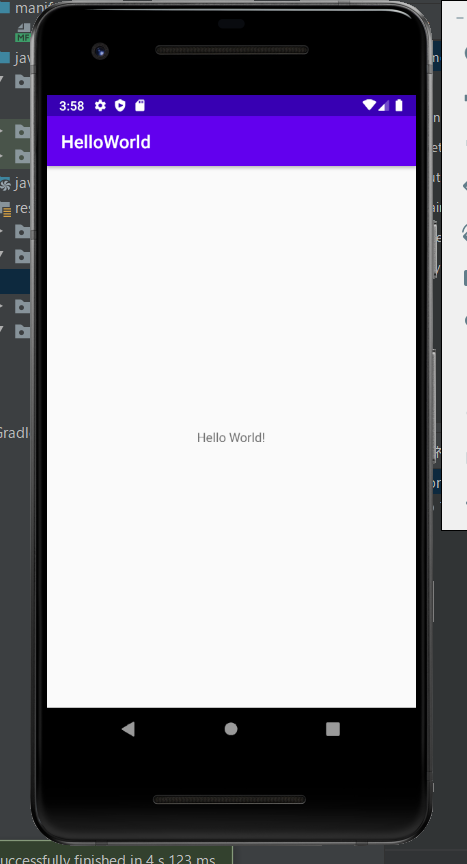
ボタンを追加し、ボタン押下したら出力する文字列を変更する
ボタンを追加する(activity_main.xml)
UI画面からボタンを追加する
①UI画面の「パレット>Common>Button」をドラック&ドロップ
②追加したボタンを「右クリック>制約」を選んでいき、「親の上部」と「親の開始」を定義する。
※①の時に「ボタン位置を定義せよ」とエラーが出るが②をやれば解決する。
③画面右側の「属性」からボタンidを定義する。今回は「button」


xmlでごりごり書いてボタンを追加する
<!-- 以下を追加する -->
    <Button
        android:id="@+id/button"
        android:layout_width="wrap_content"
        android:layout_height="wrap_content"
        android:layout_marginStart="164dp"
        android:layout_marginTop="271dp"
        android:text="Button"
        app:layout_constraintStart_toStartOf="parent"
        app:layout_constraintTop_toTopOf="parent" />
テキストビューにidを付与する
ボタンを押下するときにテキストビューの値を変えるために、idを付与する。
テキストビューをタップし、画面右側の属性からidを付与する。
今回はtextView 
ボタン操作処理を作る(MainActivity.kt)
override fun onCreate(savedInstanceState: Bundle?) {
        super.onCreate(savedInstanceState)
        setContentView(R.layout.activity_main)

        // ここら辺にボタン操作処理を記載する
        findViewById<Button>(R.id.button).setOnClickListener {
            textView.text = "Hello"
        }
    }
他
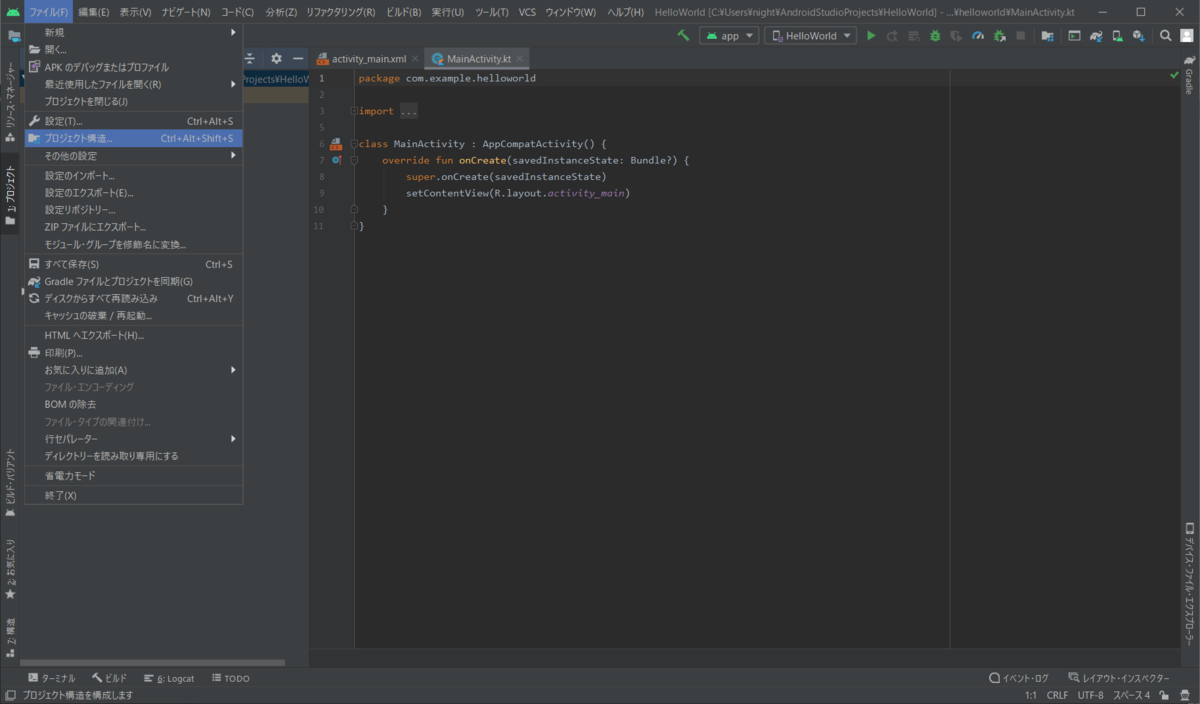
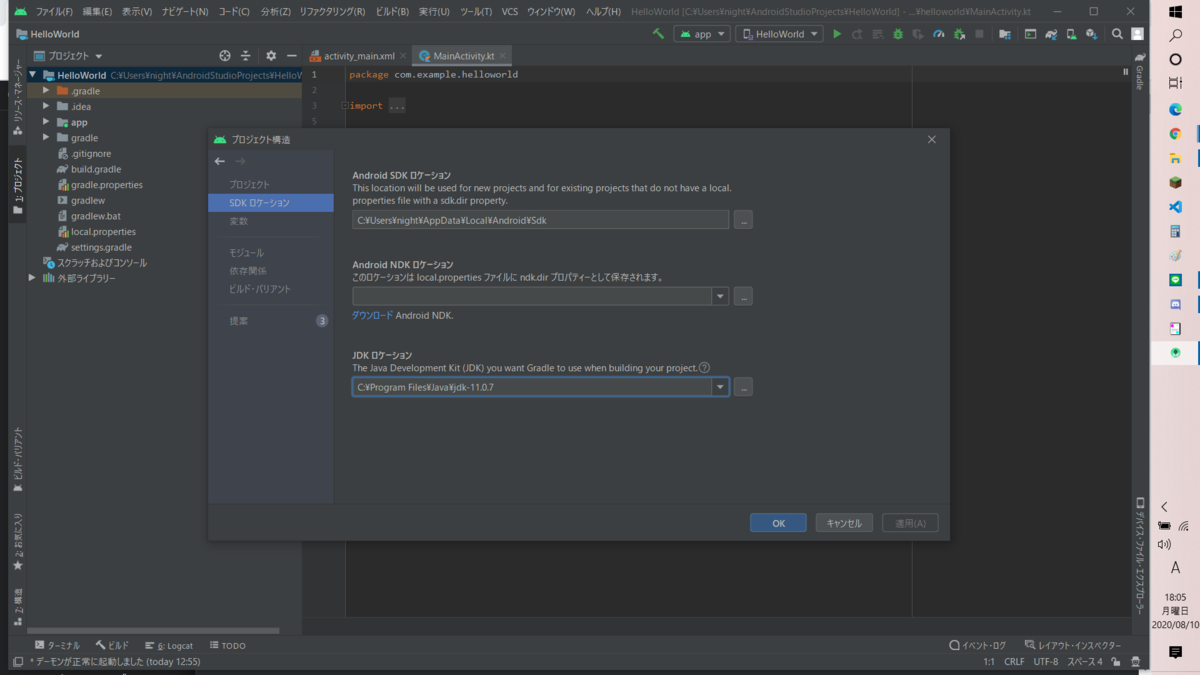
JDKでとやかく言われるとき
